I have a soft spot for a simple, deeply chocolatey cup on chilly evenings, which is why this Hot Chocolate Recipe lives on my favorites list. It’s the kind of drink that feels like a warm hug after a long day, and I keep coming back to the technique more than the shortcuts. Between the glossy cocoa paste and the final frothy lift, you get a richness that outperforms instant mixes every time. If you’re after a reliable, silky cup of Hot Chocolate Recipe, this version balances deep chocolate, smooth milk, and a whisper of vanilla for real comfort.
How This Recipe Became My Rainy-Day Favorite
Rainy afternoons in my city always smelled like wet pavement and roasted chestnuts from a street vendor. One particularly gray Saturday I decided to skip the vendor and try to recreate that cozy treat at home with this Hot Chocolate Recipe. I remember the sound of the whisk at the saucepan rim and the little cloud of steam that rose when the chocolate finally melted. The first sip was almost ceremonial: dense, slightly bitter, then melting into sweet cream. For me, making this drink became a small ritual of slowing down, wrapping cold hands around a warm mug, and watching rain trace the window. It’s sensory memory in a cup, and it still feels like comfort every time.
Primary Ingredients and Why They Matter
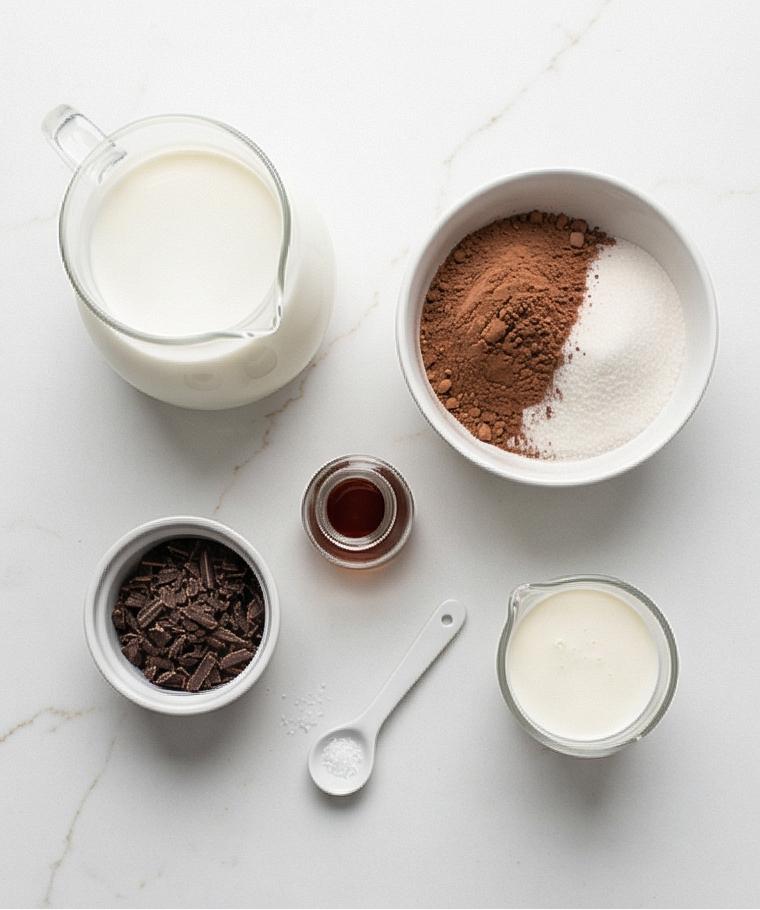
This Hot Chocolate Recipe depends on a handful of quality ingredients that each play a clear role. Whole milk supplies body and a creamy mouthfeel, while the unsweetened cocoa gives concentrated chocolate flavor and color. Granulated sugar lifts bitterness and balances the cocoa. Finely chopped bittersweet chocolate deepens the chocolate character and adds thickness when melted. A little sea salt sharpens the taste and makes flavors pop, and vanilla rounds everything with a gentle sweetness. If you want a richer sip, a splash of cold heavy cream at the finish enriches the texture.
- Whole Milk: The base of the drink, responsible for creaminess and mouthfeel; substitute with oat or full-fat plant milks for dairy-free versions, but expect a change in richness.
- Granulated Sugar: Balances cocoa bitterness; try brown sugar for a caramel note.
- Unsweetened Cocoa Powder: Provides concentrated chocolate flavor; Dutch-processed cocoa gives a mellower taste.
- Bittersweet Chocolate: Melts into the milk for depth and silkiness; use 60–70% cacao for balance, or use semisweet for a sweeter result.
- Fine Sea Salt: Enhances overall flavor; flaky salt will work in a pinch.
- Pure Vanilla Extract: Rounds flavors; swap for vanilla bean paste for a more aromatic finish.
- Heavy Cream (optional): Adds extra luxury; leave out for a lighter cup.
Essential Kitchen Tools
A few simple tools make a huge difference when you want the perfect cup. Having the right whisk and a heavy-bottomed saucepan prevents scorching and ensures smooth emulsification. An immersion blender is optional but helpful for a silky, lightly aerated top. A small ramekin or measuring spoon keeps the salt and vanilla measured so you don’t overdo them. Alternatives work well when you’re improvising, but picking tools that distribute heat evenly and whisk efficiently will save frustration.
- Medium saucepan: For gentle heating and even cooking; a heavy-bottomed pan is best.
- Small whisk: Essential for breaking up cocoa and keeping the mixture lump-free.
- Measuring cups and spoons: To keep proportions consistent.
- Immersion blender (optional): For a velvety froth; whisk vigorously if you don’t have one.
- Fine grater or knife: For shaving chocolate as garnish.
Step-by-Step Preparation Guide
Step 1: Combine the dry cocoa and sugar into a smooth powder
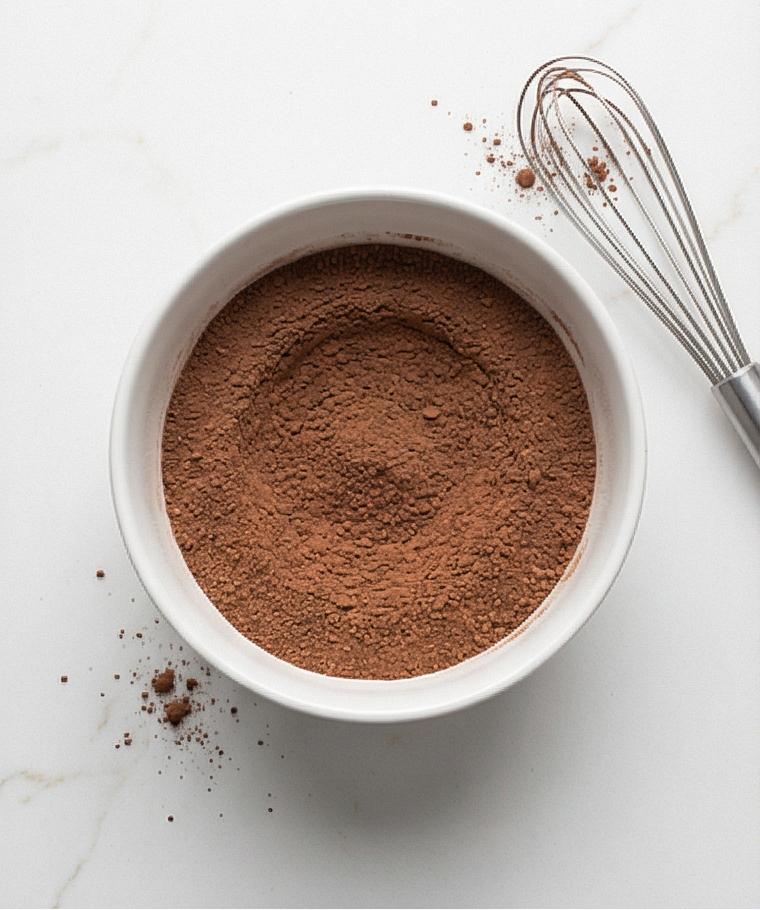
In a small matte white ceramic bowl whisk the granulated sugar together with the sifted unsweetened cocoa until the mixture looks uniform and free of small lumps – no dry pockets, just a velvety, slightly grainy dark-brown powder. Use a small stainless whisk and keep the bowl stable on the Calacatta-like surface; the goal here is an even, clump-free base that will dissolve instantly when wet.
Step 2: Build a glossy cocoa paste with a little cold milk
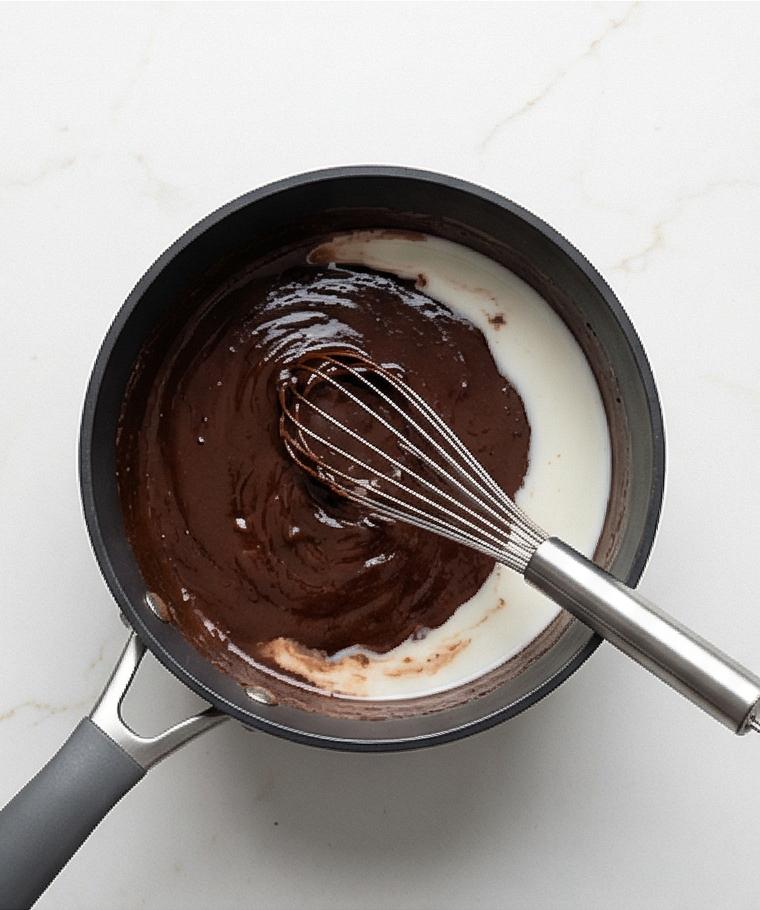
Spoon the cocoa–sugar mixture into a shallow, modern matte charcoal saucepan and add just 120 ml (1/2 cup) of cold whole milk. Whisk vigorously until the cocoa dissolves into a thick, glossy paste – satin-dark, concentrated, and free of streaks. Let it rest on the surface so the paste darkens a touch and becomes cohesive and glossy; this paste is the visual pivot that prevents lumps and promises silkiness.
Step 3: Emulsify the paste into full milk and melt chocolate until steaming
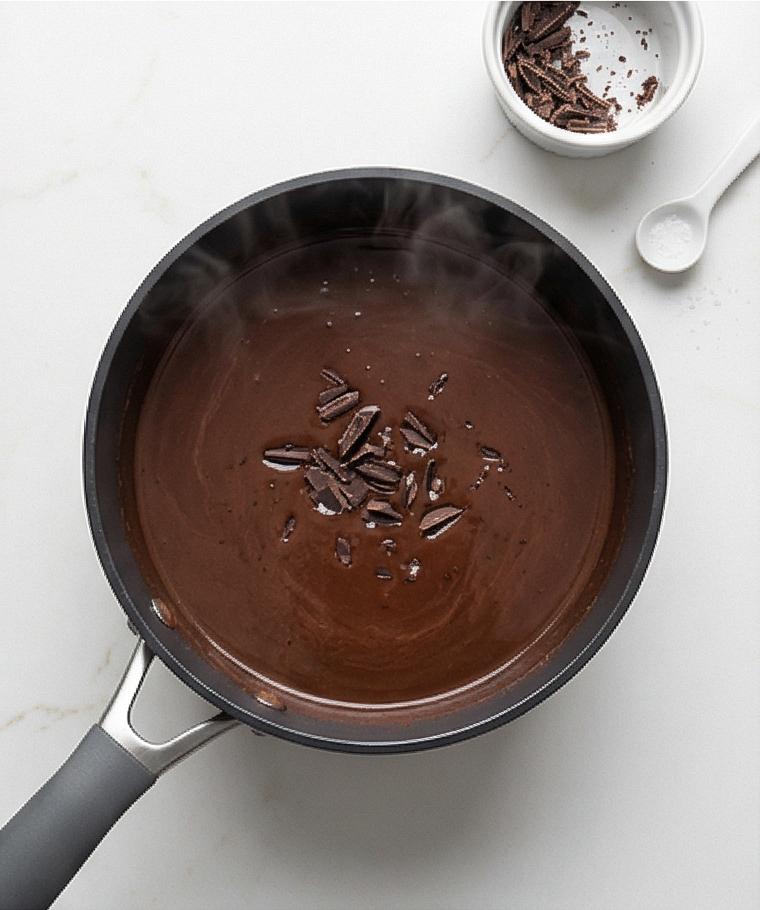
Slowly pour the remaining cold milk from a clear glass milk jug into the saucepan while whisking, turning the paste into a uniform milk-chocolate emulsion. Add the finely chopped bittersweet chocolate and a pinch of fine sea salt in a small porcelain ramekin, then continue whisking until the chocolate is fully melted and the liquid is homogenous, steaming gently with fine wisps of steam around the edges – glossy, thickened, and uniformly dark chocolate-brown.
Step 4: Enrich, finish, and aerate for a velvety texture
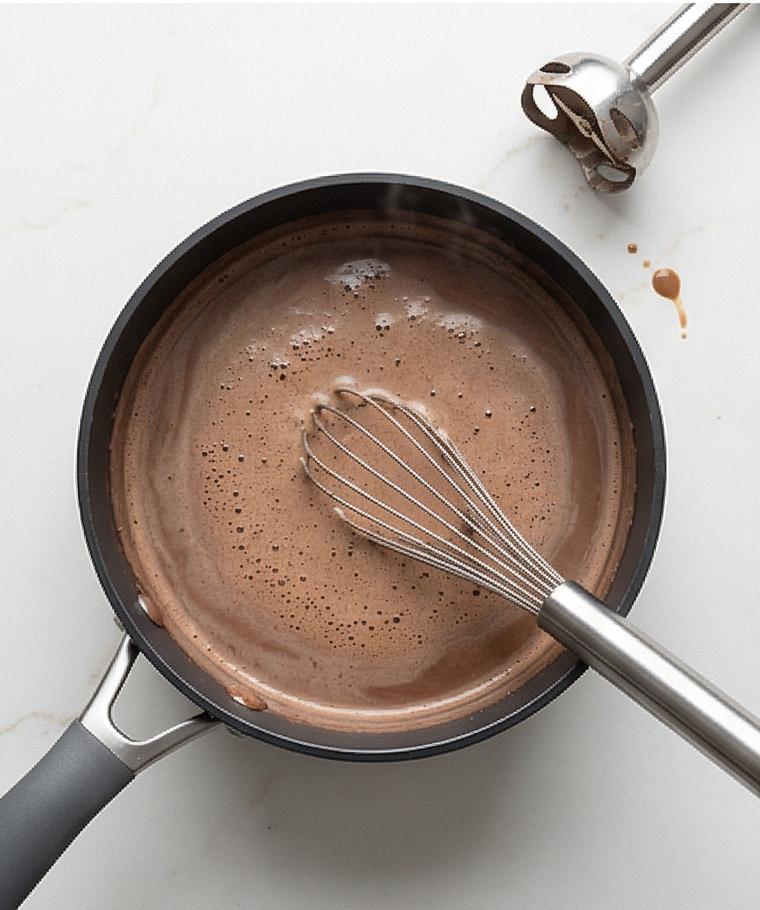
If using, stir in the cold heavy cream from a small glass measure and the vanilla extract from a tiny dropper bottle; whisk to combine until the surface reads velvety and slightly thickened but not boiling. To elevate the mouthfeel, whisk energetically for 20–30 seconds or use a low-speed immersion blender briefly to introduce a light, creamy froth – tiny microbubbles, a satiny crown around the edge, and a smooth cascading texture as the liquid settles for a minute.
Step 5: Warm mugs, pour, garnish, and serve while steaming hot
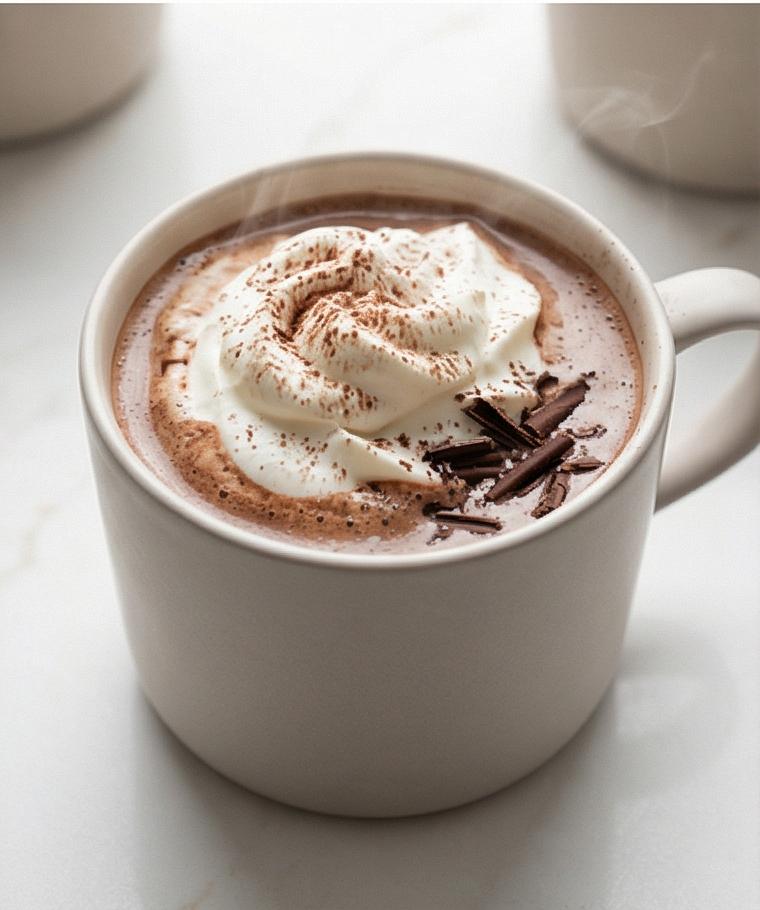
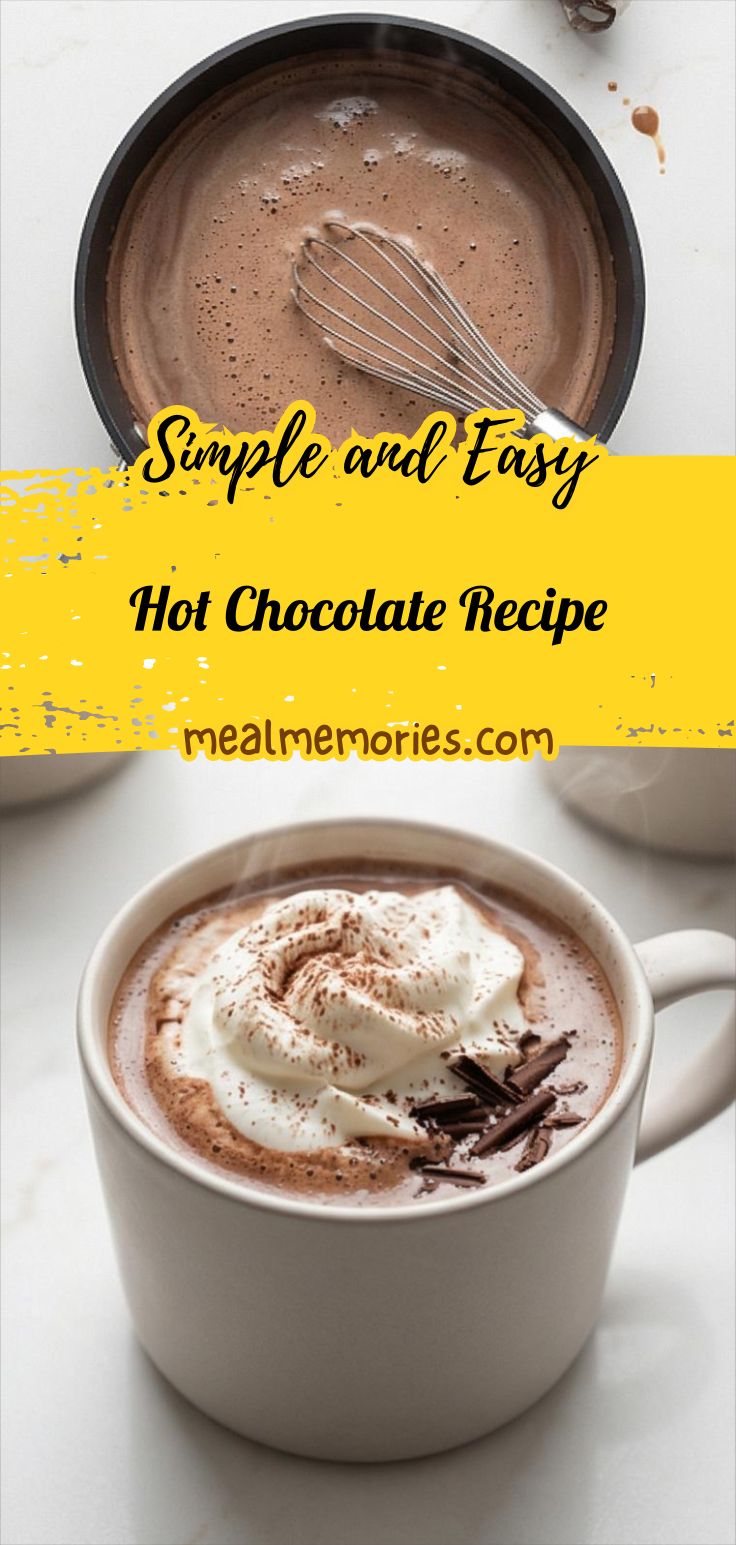
Warm two matte porcelain mugs briefly, then pour the hot chocolate from the saucepan into the warmed mugs using a small ladle so the surface remains glossy and steaming. Finish with a generous spoon of lightly sweetened whipped cream, a sprinkle of unsweetened cocoa powder, and a few fine chocolate shavings from a dark chocolate bar. The final mugs should show steamy rims, a soft whipped peak, and delicate chocolate curls – serve immediately for peak texture and warmth.
Making It Your Own
I like to experiment with this Hot Chocolate Recipe depending on the season. In winter I swap half the chopped bittersweet chocolate for a slightly higher cacao content and add a pinch of cinnamon for warmth. For a spring twist I try a hint of orange zest with dark chocolate for a bright lift. If you need a dairy-free version, oat milk plus a touch of coconut cream offers creaminess without taking over. For a spiced regional take, add a small piece of star anise while the chocolate melts and remove it before serving.
How to Serve
If you’re hosting, warm the mugs in the oven at low heat or fill them with hot water for a minute before pouring to keep the drink hotter longer. For two guests, prepare the full recipe as written; for a crowd, scale milk and chocolate linearly and melt in a wide, heavy pan before ladling. Consider setting up a small hot chocolate bar with whipped cream, mini marshmallows, chocolate shavings, and cocoa dust for guests to customize their cups. Present on a wooden tray with a small plate of cookies to complement the richness.
Storage and Reheating Tips
Store leftover hot chocolate in an airtight container in the refrigerator for up to 48 hours. Separation may occur, but a quick whisk or brief reheating will bring it back together.
To reheat, warm gently over low heat while whisking constantly so the chocolate does not scorch. If the texture seems a bit thin, stir in a splash of warm milk and whisk until smooth.
Common Mistakes and How to Avoid Them
One common mistake is overheating the milk which can scorch the chocolate and create a grainy texture. Keep the heat gentle and whisk continuously once the chocolate is added. Another misstep is adding the cold cream or vanilla too early; add these at the end to preserve flavor and texture. Finally, skip rushing the cocoa paste step – that glossy paste is the secret to a lump-free cup.
A Warm Invitation to Try This Recipe
Give this Hot Chocolate Recipe a try on the next cool evening you have. It rewards a little patience with a cup that feels indulgent but approachable, and it adapts easily to what you have on hand. Make a double batch for company or savor a single mug while you curl up with a good book.
Frequently Asked Questions
- What kind of chocolate should I use for the best flavor? – Bittersweet chocolate around 60-70% cacao gives depth without being overly bitter; use semisweet for a sweeter cup.
- Can I make this dairy-free? – Yes, oat milk or almond milk work well; add a touch of coconut cream if you want extra richness.
- How do I avoid lumps when making hot chocolate? – Make a glossy paste by whisking cocoa and a small amount of cold milk first, then emulsify with the rest while whisking.
- Can I store leftover hot chocolate? – Store in the refrigerator for up to 48 hours and reheat gently while whisking.
- Is it okay to use instant cocoa powder? – You can, but unsweetened, high-quality cocoa powder and real chopped chocolate give a fuller, fresher flavor.
Hot Chocolate Recipe
Make this Hot Chocolate Recipe for silky, rich cups of chocolate in about 20 minutes.
Ingredients
Instructions
Step 1: Combine the dry cocoa and sugar into a smooth powder
In a small matte white ceramic bowl whisk the granulated sugar together with the sifted unsweetened cocoa until the mixture looks uniform and free of small lumps — no dry pockets, just a velvety, slightly grainy dark-brown powder. Use a small stainless whisk and keep the bowl stable on the Calacatta-like surface; the goal here is an even, clump-free base that will dissolve instantly when wet.
Step 2: Build a glossy cocoa paste with a little cold milk
Spoon the cocoa–sugar mixture into a shallow, modern matte charcoal saucepan and add just 120 ml (1/2 cup) of cold whole milk. Whisk vigorously until the cocoa dissolves into a thick, glossy paste — satin-dark, concentrated, and free of streaks. Let it rest on the surface so the paste darkens a touch and becomes cohesive and glossy; this paste is the visual pivot that prevents lumps and promises silkiness.
Step 3: Emulsify the paste into full milk and melt chocolate until steaming
Slowly pour the remaining cold milk from a clear glass milk jug into the saucepan while whisking, turning the paste into a uniform milk-chocolate emulsion. Add the finely chopped bittersweet chocolate and a pinch of fine sea salt in a small porcelain ramekin, then continue whisking until the chocolate is fully melted and the liquid is homogenous, steaming gently with fine wisps of steam around the edges — glossy, thickened, and uniformly dark chocolate-brown.
Step 4: Enrich, finish, and aerate for a velvety texture
If using, stir in the cold heavy cream from a small glass measure and the vanilla extract from a tiny dropper bottle; whisk to combine until the surface reads velvety and slightly thickened but not boiling. To elevate the mouthfeel, whisk energetically for 20–30 seconds or use a low-speed immersion blender briefly to introduce a light, creamy froth — tiny microbubbles, a satiny crown around the edge, and a smooth cascading texture as the liquid settles for a minute.
Step 5: Warm mugs, pour, garnish, and serve while steaming hot
Warm two matte porcelain mugs briefly, then pour the hot chocolate from the saucepan into the warmed mugs using a small ladle so the surface remains glossy and steaming. Finish with a generous spoon of lightly sweetened whipped cream, a sprinkle of unsweetened cocoa powder, and a few fine chocolate shavings from a dark chocolate bar. The final mugs should show steamy rims, a soft whipped peak, and delicate chocolate curls — serve immediately for peak texture and warmth.
Notes
- Warm mugs before pouring to keep the hot chocolate hotter longer
- Use high-quality chocolate for the best depth of flavor
- Whisk the cocoa and sugar with a little cold milk first to prevent lumps
- Reheat gently over low heat and whisk to restore creaminess