Ice Cream (homemade) Recipe
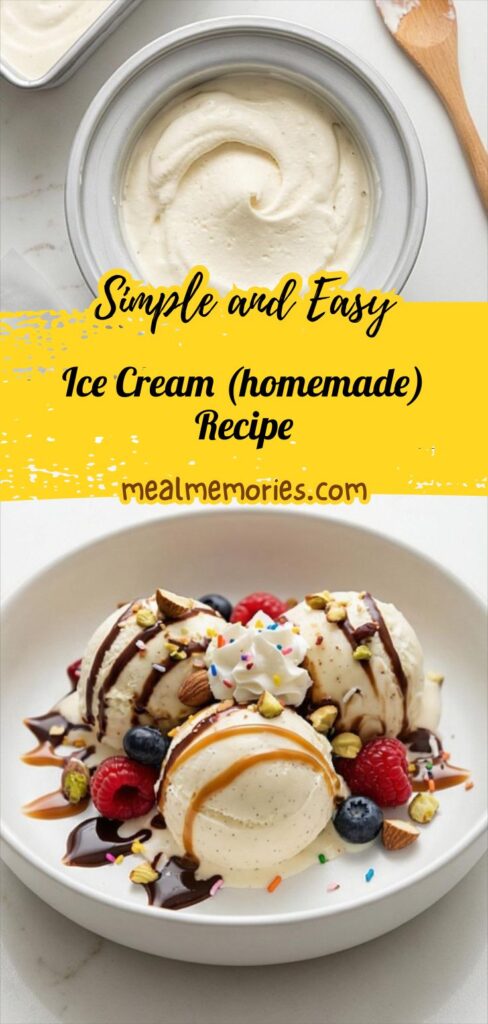
Make Ice Cream (homemade) Recipe for silky vanilla custard — churn, firm, and serve with warm toppings.
Ingredients
- 1 cup (240 ml) whole milk, chilled
- 2 cups (480 ml) heavy cream, divided and chilled
- 3/4 cup (150 g) granulated sugar
- 1/8 teaspoon fine sea salt
- 6 large egg yolks, at room temperature
- 1 vanilla bean, split lengthwise and seeds scraped, or 2 teaspoons pure vanilla extract
- Optional toppings and garnishes: warm chocolate or caramel sauce, fresh berries, chopped toasted nuts, whipped cream, and sprinkles
Instructions
Step 1: Prepare the chilling station and reserve the cream
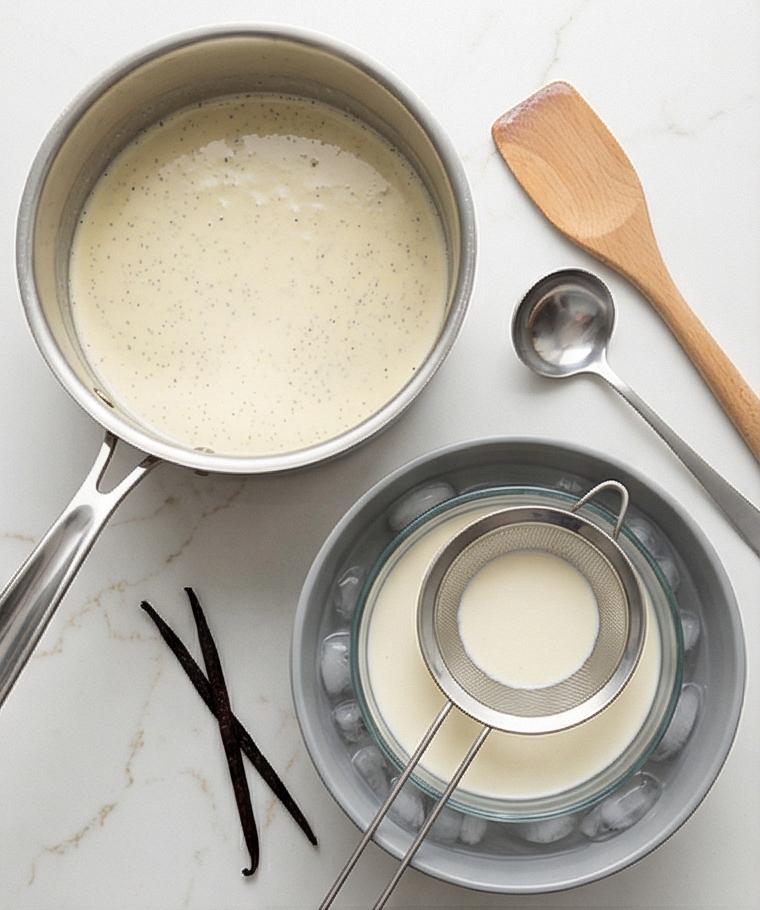
Make sure your ice-cream maker bowl has been frozen for at least 24 hours. Set a large bowl half-filled with ice and a little cold water on the quartz surface and nest a medium matte grey ceramic heatproof bowl inside it to form an ice bath. Pour 1 cup of the cold heavy cream into that inner grey bowl and rest a fine-mesh strainer across its rim; keep a wooden spatula and a small stainless ladle nearby on the surface. This quiet staging keeps everything ready for rapid cooling and preserves the texture of the custard.
Step 2: Infuse the milk and cream with vanilla until steaming
Place the remaining milk and cream together with the scraped vanilla seeds and pod and a pinch of fine sea salt into a heavy-bottomed stainless pot and gently warm until steaming with tiny bubbles around the edge—until it’s visibly steaming and fragrant but not boiling. Remove the pot from heat and let it rest briefly so the vanilla seeds bloom in the warm liquid; the surface should look silky and slightly glossy, flecked with vanilla specks. Keep the pot on the quartz surface beside the ice bath to proceed with tempering.
Step 3: Whisk yolks with sugar and temper
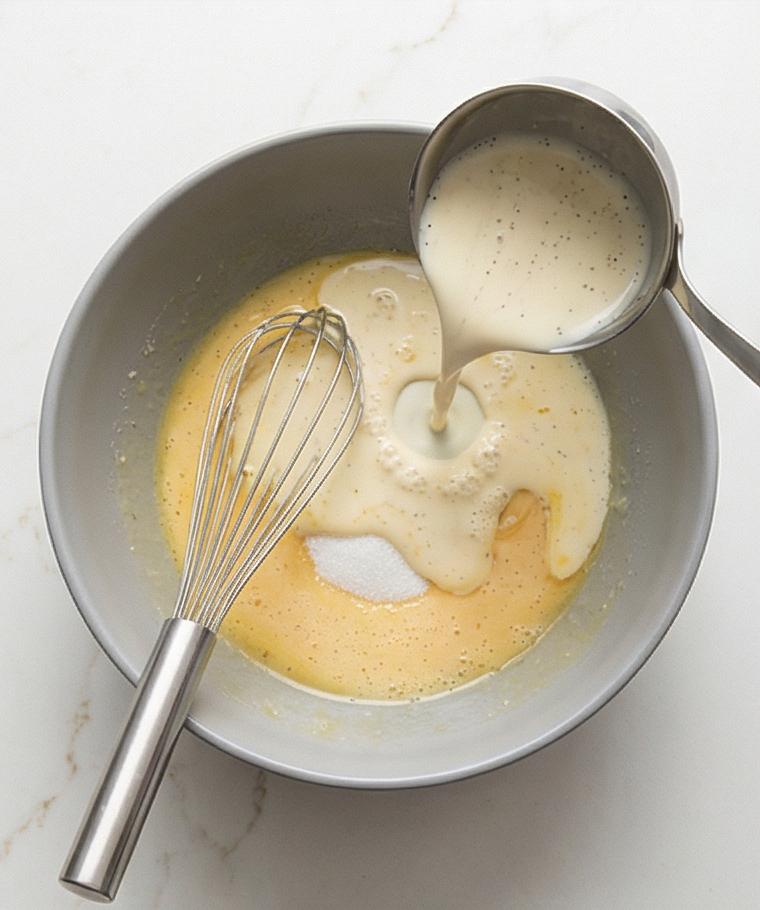
In the same matte grey mixing bowl whisk the six large yolks with the granulated sugar vigorously until the mixture becomes pale, smooth, and slightly ribbon-like when the whisk is lifted. Slowly drizzle a small stream of the hot infused milk into the yolks while whisking constantly to temper—the yolk mixture should warm and thicken a touch but remain fluid and glossy, free of curdled bits. This tempered, homogenous pale custard base is the key visual milestone before cooking.
Step 4: Combine and cook the custard to nappe
Pour the tempered yolk mixture back into the stainless pot with the remaining warm milk-cream, then work the custard on low heat off any appliance—stirring constantly with the wooden spatula on the quartz surface—until it thickens enough to coat the back of the spatula and leaves a clean trail when you draw your finger across it. The custard should be velvety, luminous, and fall in slow ribbons—no graininess, just a satiny nappe ready for finishing.
Step 5: Strain into the cold cream and chill over ice
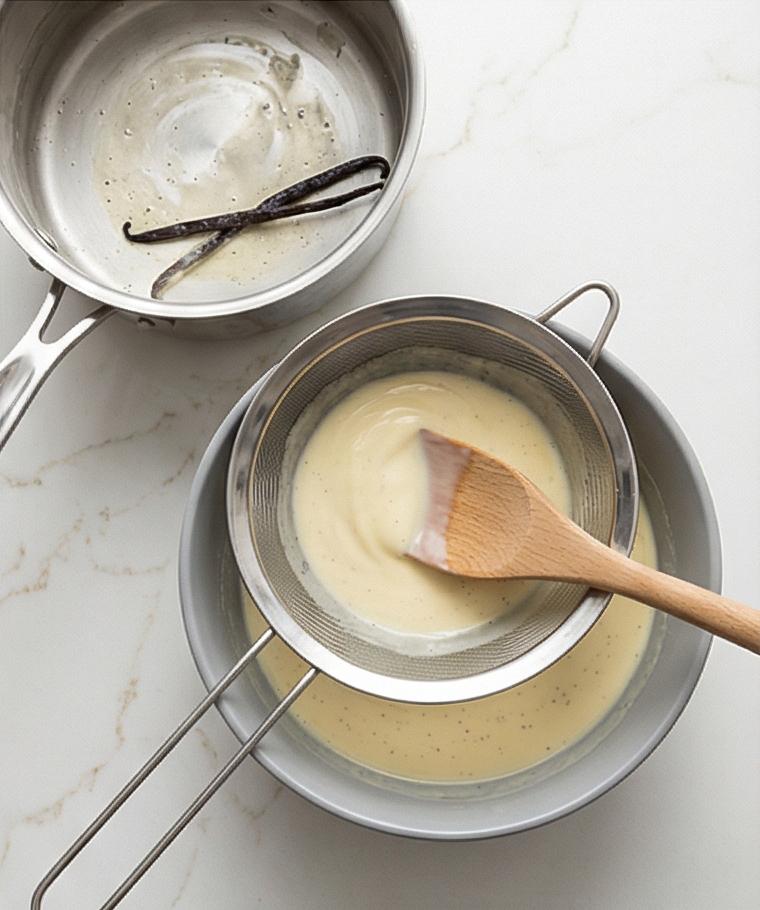
Immediately pass the hot custard through the fine-mesh strainer into the reserved cold cream in the matte grey bowl, pressing gently with the spatula to extract every drop; discard solids and the vanilla pod. If using vanilla extract, stir it in now. Set the grey bowl back into the ice bath and stir the custard occasionally until it cools to near room temperature, then press plastic wrap directly onto the surface and refrigerate until thoroughly cold (preferably overnight) so the texture relaxes and the flavors meld.
Step 6: Briefly whisk and transfer to the ice-cream maker
Remove the chilled custard from the refrigerator and give it a quick whisk to smooth any set edges. Set your frozen freezer bowl into the machine according to the maker’s instructions, turn the machine on, and slowly pour the cold custard into the running machine from the matte grey bowl. Watch the mixture thicken and increase in volume as air is incorporated; the texture should change from glossy liquid to a soft, aerated ribbon.
Step 7: Churn to soft-serve consistency
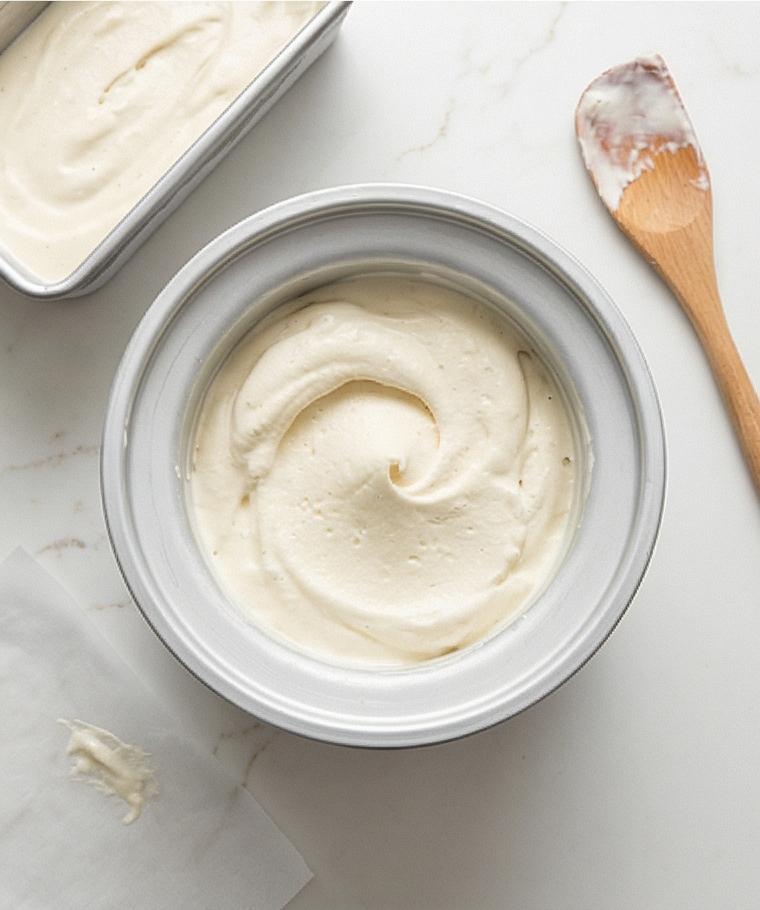
Let the machine churn until the ice cream reaches a soft-serve stage—lightly aerated, holding soft peaks on the paddle, dense but scoopable. The churned ice cream should look pillowy with fine, creamy bubbles and a slightly matte sheen that signals optimal overrun and structure. Stop the machine and quickly transfer the soft ice cream to a chilled, freezer-safe container.
Step 8: Press, seal, and firm in the freezer
Smooth the surface with a spatula, press a piece of parchment or plastic wrap directly onto the custard to minimize ice crystals, and seal with a lid. Place the container in the coldest part of your freezer and let it firm for at least 3–4 hours (6–8 for scoop-shop firmness) so the microstructure stabilizes and the texture sets fully.
Step 9: Soften briefly, scoop, and garnish for serving
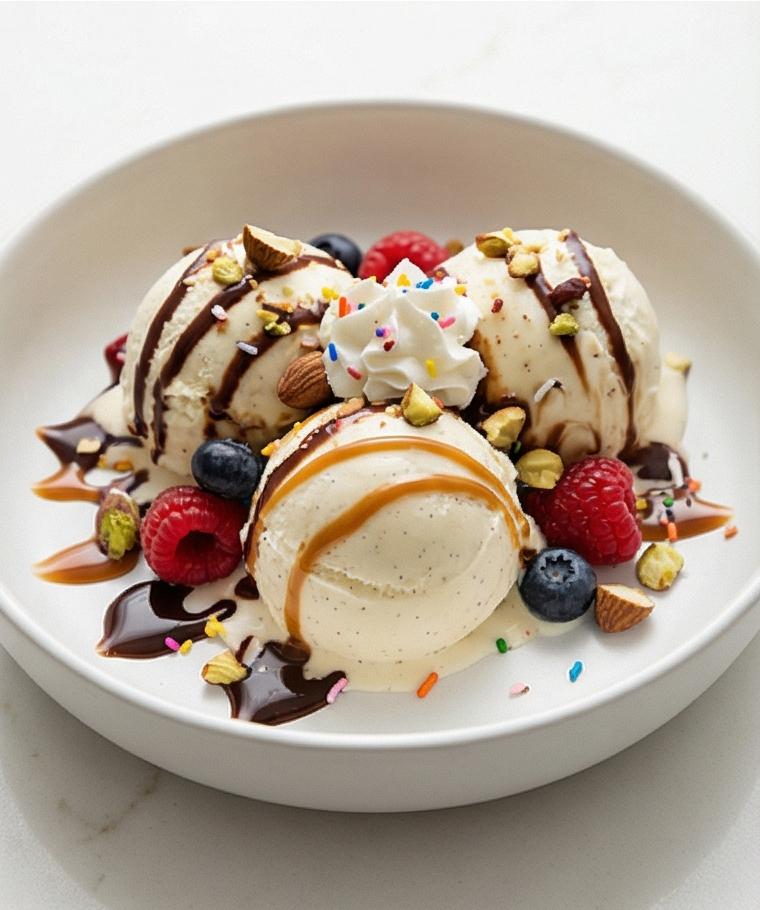
When ready to serve, let the container sit at room temperature for 5–10 minutes to soften slightly for ideal scooping. Use a chilled scooper to form clean, dense scoops into a chilled matte white porcelain bowl; finish with warm chocolate or caramel drizzle, fresh berries, chopped toasted nuts, a dollop of whipped cream, or sprinkles as you like. Capture the final dish with a close, eye-level view that celebrates the creamy surface, visible vanilla specks, and the gentle melt at the edges.
Notes
- Freeze the ice-cream maker bowl at least 24 hours before churning
- Chill custard thoroughly (preferably overnight) before churning
- Press plastic wrap onto the custard surface before freezing to reduce ice crystals
- Use a fine-mesh strainer to ensure silky texture
- For lighter ice cream, reduce cream and increase milk slightly