Cold Brew Coffee Recipe

Make Cold Brew Coffee Recipe: steep coarse coffee in cold filtered water to craft smooth concentrate for easy iced or milk drinks.
Ingredients
- 1 cup (90 g) coarsely ground medium- to dark-roast coffee beans
- 4 cups (960 ml) cold filtered water, at room temperature 68–72°F (20–22°C)
- 1 cup (240 ml) cold filtered water, chilled to 36–40°F (2–4°C), for rinsing the grounds and adjusting strength (optional but recommended)
- Ice cubes made from filtered water, for serving
- Up to 1 cup (240 ml) whole milk, oat milk, or preferred milk, chilled to 36–40°F (2–4°C), for serving (optional)
- Simple syrup or granulated sugar, to taste, for serving (optional)
- Whipped cream, chilled to 36–40°F (2–4°C), for topping (optional)
- Pinch of ground cinnamon or unsweetened cocoa powder, for garnish (optional)
Instructions
Step 1: Grind the beans to a coarse texture
Measure 1 cup (90 g) of medium- to dark-roast coffee beans and grind them to a coarse, sandy texture—think raw sugar crystals or coarse sea salt. Use a burr grinder set wide and aim for large, irregular granules that hold their shape; you should be able to see individual particles and feel their grit between your fingers. Place the grounds into a clean, shallow matte ceramic bowl or directly into the brewing jar to avoid extra transfers—this keeps the aroma concentrated and the texture intact as you move into the next step.
Step 2: Load the brew jar with grounds
Pour the coarsely ground coffee into a clear 1.5–2 quart non-reactive glass jar so the dark, matte granules blanket the bottom in an even bed. Gently tap the jar on the surface to level the grounds; you should see a slightly uneven, pebbly landscape of coffee with dry, velvety peaks and fine pockets between the particles. Set a small glass carafe of cold filtered water nearby for the next pour.
Step 3: Saturate the grounds with room-temperature water and stir
Slowly pour 4 cups (960 ml) of cold filtered water (68–72°F / 20–22°C) in a thin, even stream over the grounds to fully saturate them. As the water hits, note the glossy darkening of granules and the way channels form where liquid finds its way—this is the bloom and saturation phase. Use a long, slender stainless spoon to gently stir for 20–30 seconds, scraping the bottom and sides until no dry pockets remain; the mixture should look uniformly moistened, glossy but still granular, with concentrated dark swirls on the surface.
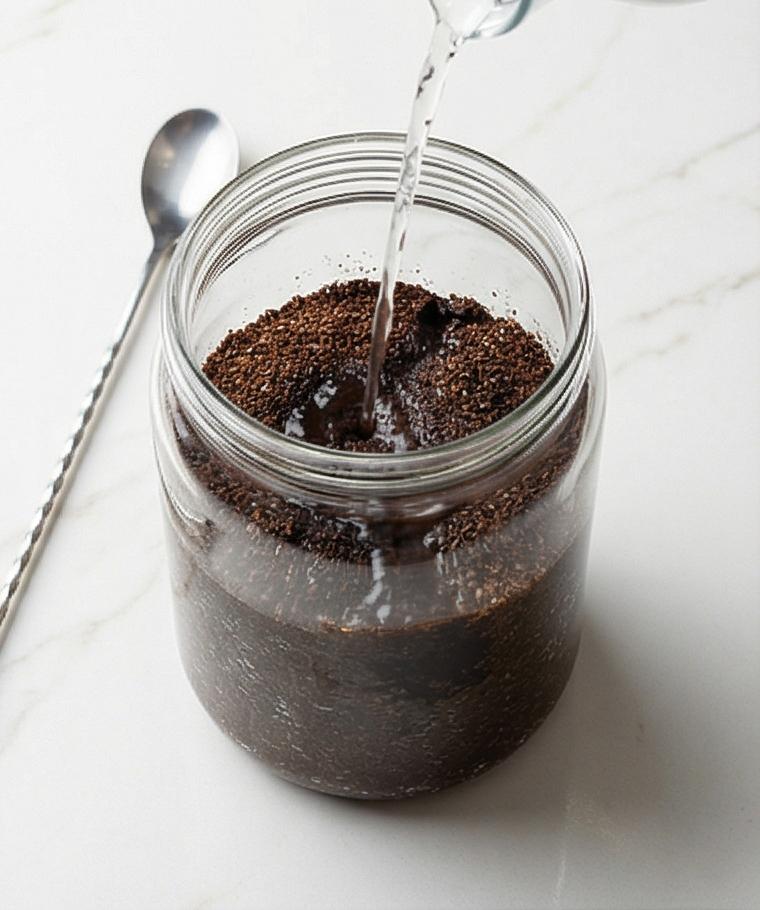
Step 4: Cover the jar to prevent oxidation
Seal the jar tightly with a lid or cling film to block odors and minimize oxidation; the surface of the brew should remain calm and sealed. The texture at this point is a weighted, wet grain bed with a thin film of coffee on top—no foam, just an even, dark-working surface. Let the covered vessel rest undisturbed on the quartz surface while you decide whether to steep at room temperature or chill for a brighter cup.
Step 5: Steep at room temperature or refrigerate for a cleaner profile
For a balanced, smooth extract steep the covered jar at room temperature for 12–16 hours; for a slightly brighter, cleaner profile, place it in the refrigerator and steep 18–24 hours. Visually, after steeping you’ll see a uniform dark concentrate with a subtle separation where fines settle to the bottom and the top stays translucent but richly colored—like liquid mahogany above a softer sediment bed.
Step 6: Prepare the straining station
Set a wide-mouth pitcher on the quartz and place a fine-mesh sieve over it. Line the sieve with a paper coffee filter, a tightly woven kitchen towel, or two layers of cheesecloth—each will visibly alter the texture of the strained concentrate (paper = clear, towel = slightly fuller mouthfeel). Keep a clean jar or second pitcher ready to receive the initial strained coffee.
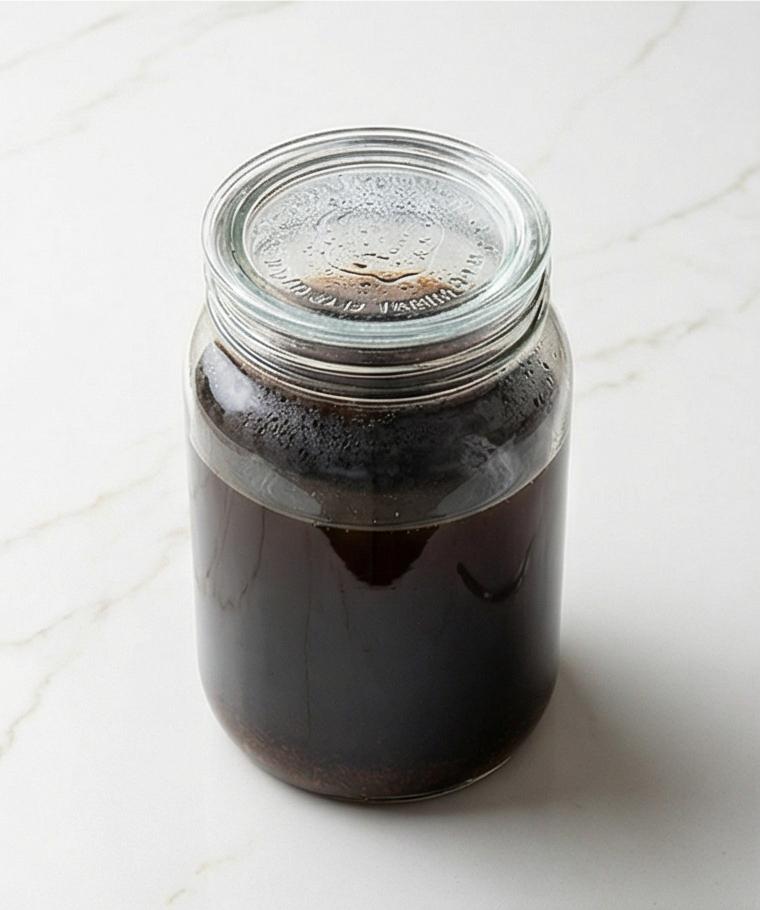
Step 7: Redistribute and begin the first strain
Gently swirl the steeped jar once to re-suspend settled fines, then slowly pour the mixture through the lined sieve into the clean pitcher, allowing gravity to do the work. You should see a steady, viscous drip—deep, glossy concentrate falling through the filter while the spent grounds remain dark and pillowy in the cloth or paper. This first pass removes most of the coarse particles and yields a thick, syrupy concentrate.
Step 8: Perform a second strain if needed for extra clarity
If a noticeable sediment remains in the pitcher, replace the filter or rinse the cloth and strain the concentrate a second time. The second strain will take another 5–10 minutes and will produce a visibly clearer, cleaner liquid—less haze, smoother surface tension, and a more jewel-like liquid when held to the light.
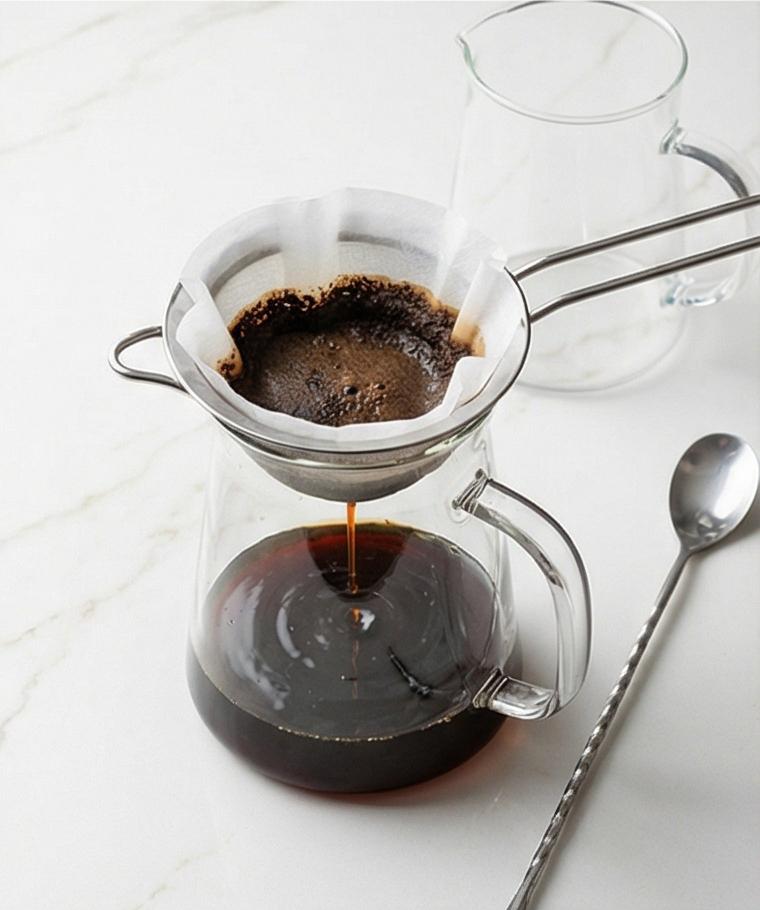
Step 9: Rinse the spent grounds to increase yield (optional)
To coax out every last bit of flavor, pour up to 1/2 cup (120 ml) of chilled filtered water through the used grounds in the filter, letting it drip slowly into the pitcher. This rinse yields a lighter stream that visibly thins the concentrate; taste as you go so you don’t over-dilute. The spent grounds afterward look compressed, darker, and matte—a compacted, coffee-scented puck.
Step 10: Transfer and chill the concentrate
Decant the strained cold brew into a clean glass bottle or jar with a tight-fitting lid. The concentrate should be viscous and glossy with a deep brown color. Refrigerate at 36–40°F (2–4°C) for at least 2 hours if the brew was made at room temperature so the liquid becomes bright and cold—chilled concentrate will look denser, with less surface shimmer and a still, mirror-like top.
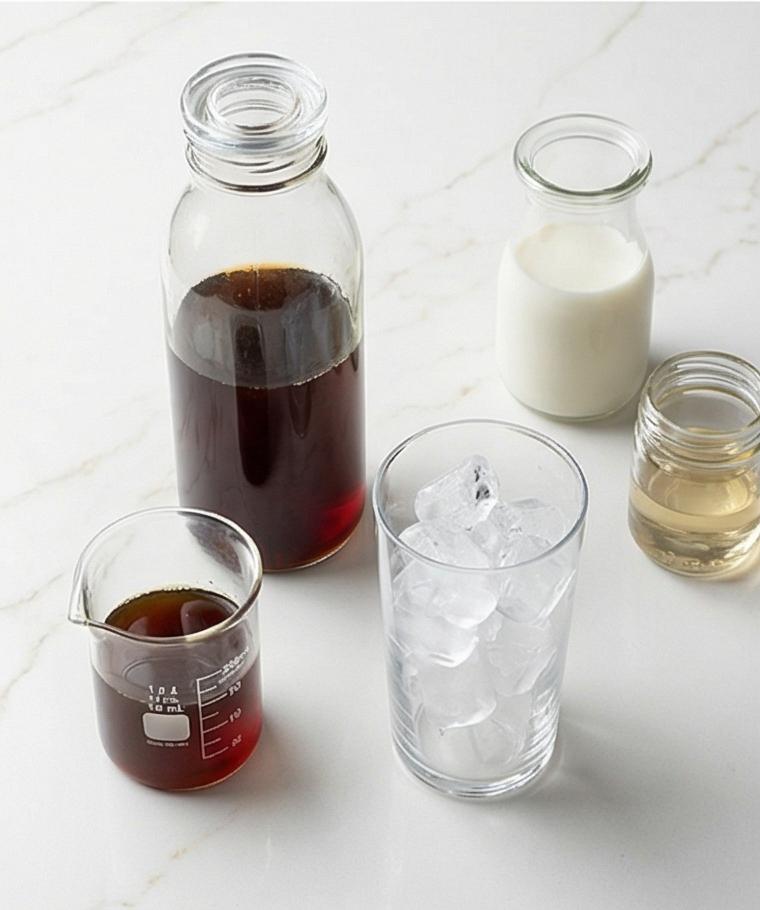
Step 11: Plan dilution and measure your serving ratio
For a typical drinking strength, use a roughly 1:1 dilution—combine 1/2 cup (120 ml) cold brew concentrate with 1/2 cup (120 ml) cold filtered water or chilled milk. Visually the two liquids form a layered gradient as you pour: the dense dark concentrate sinks briefly, then gradually homogenizes into a uniform opaque-brown or creamy tone if milk is used.
Step 12: Assemble the glass over ice
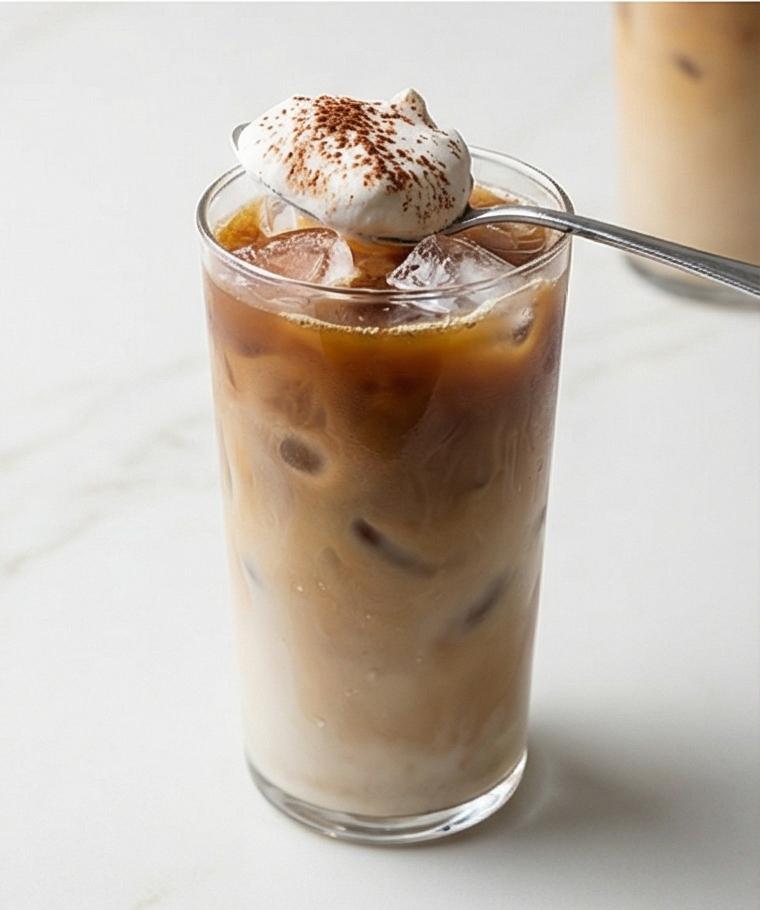
Fill a 12-ounce (355 ml) glass to the brim with clear ice cubes made from filtered water. Pour the concentrate first, then add water and/or chilled milk; stir gently until the drink is homogeneously colored and slightly opaque when milk is included. The final drink should have a cool, silky surface, with tiny bubbles clinging to ice and a pleasing, even color.
Step 13: Sweeten to taste
Add simple syrup or dissolve granulated sugar to taste—start small (1–2 teaspoons) and stir until fully incorporated. The correct sweetness will leave the surface smooth and free of visible crystals; a well-mixed iced cold brew has no graininess and shows a uniform sheen.
Step 14: Optional indulgence with whipped cream and garnish
For a richer treat, top the glass with a spoonful of chilled whipped cream and finish with a light dusting of ground cinnamon or unsweetened cocoa powder. The cream will float as a soft, pillowy cap with fine, matte powder speckles on top, creating a contrasting texture to the dark liquid beneath.
Step 15: Store leftover concentrate properly
Keep any remaining concentrate tightly sealed in the refrigerator at 36–40°F (2–4°C) for up to 7–10 days. Stored concentrate looks slightly more settled over time, with fine particles compacted at the bottom of the bottle; freshness is indicated by a glossy, bright liquid and lively aroma.
Step 16: Re-homogenize before each use
Before pouring from stored bottles, give the concentrate a gentle shake or stir to re-suspend settled compounds. The action should briefly cloud the liquid as the particulates lift, then settle into a uniform, drinkable texture.
Step 17: Final tasting notes and adjustments
When you taste the finished drink, note body, acidity, and sweetness; adjust future brews by lengthening or shortening steep time, changing grind coarseness, or varying dilution. Visually, small tweaks will show as changes in clarity, color saturation, and surface gloss.
Step 18: Serve and enjoy
Present the chilled cold brew on the quartz surface in a tall glass over ice, optionally topped with cream and a dusting of cocoa; the final presentation should be cool, glossy, and inviting—no condensation rings on the surface, just a pristine, layered drink ready to sip.
Notes
- Use freshly roasted beans and grind just before brewing for best flavor
- Use filtered water for a clean cup; avoid hard or heavily chlorinated tap water
- Strain twice if you want an extra clear concentrate
- Label bottles with the brew date and use within 7-10 days
- Adjust steep time and grind coarseness gradually to fine-tune taste