Pumpkin Pie Recipe
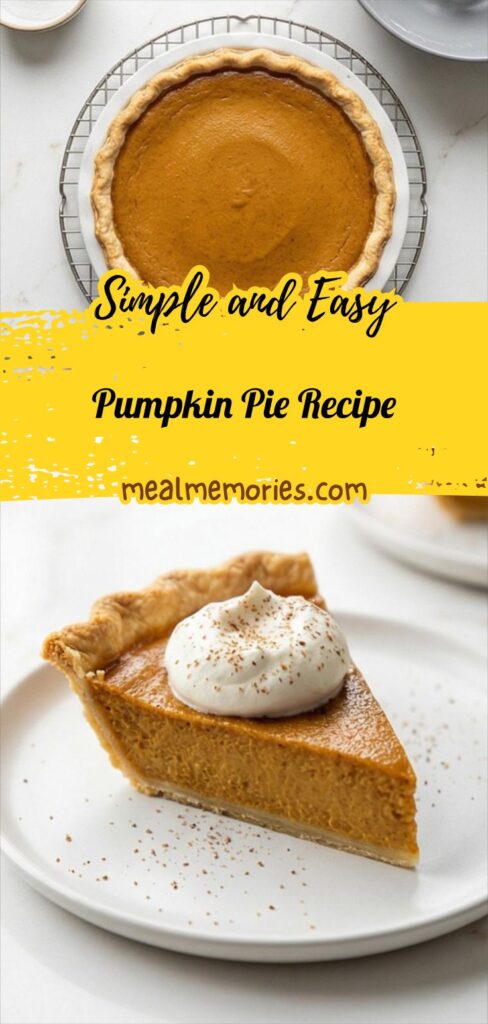
Make the Pumpkin Pie Recipe with a flaky crust and creamy spiced filling, ready for your next gathering.
Ingredients
- 1 1/4 cups (150 g) all-purpose flour
- 1 tablespoon (12 g) granulated sugar
- 1/2 teaspoon fine sea salt
- 8 tablespoons (1 stick / 113 g) unsalted butter, very cold, cut into 1/2-inch (1.25 cm) cubes
- 3 to 4 tablespoons (45 to 60 ml) ice-cold water
- 1 large egg, lightly beaten, for egg wash (optional but recommended for sealing the crust)
- 1 can (15 oz / 425 g) pumpkin purée (100% pumpkin, not pumpkin pie filling), at room temperature
- 3 large eggs, at room temperature
- 1 cup (240 ml) heavy cream, at room temperature
- 1/2 cup (120 ml) whole milk, at room temperature
- 3/4 cup (150 g) packed light brown sugar
- 1/4 cup (50 g) granulated sugar
- 1 1/2 teaspoons ground cinnamon
- 1 teaspoon ground ginger
- 1/4 teaspoon ground nutmeg
- 1/4 teaspoon ground cloves
- 1/4 teaspoon ground allspice
- 1/2 teaspoon fine sea salt
- 1 1/2 teaspoons pure vanilla extract
- 1 cup (240 ml) cold heavy cream, for serving (optional whipped cream topping)
- 2 tablespoons (25 g) granulated sugar, for sweetening whipped cream (optional)
- 1/2 teaspoon pure vanilla extract, for whipped cream (optional)
- Finely grated fresh nutmeg or ground cinnamon, for garnish (optional)
Instructions
Step 1: Combine dry ingredients and chill the butter
Add the all-purpose flour, granulated sugar, and fine sea salt to a medium mixing bowl and whisk until evenly distributed. Cut the very cold unsalted butter into 1/2-inch cubes and return the cubes to the refrigerator so they stay icy cold while you prepare the rest of the dough. Keep everything measured and cold — this is the quiet beginning that will give the crust its flaky texture.
Step 2: Cut the butter into the flour until coarse crumbs form
Add the chilled butter cubes to the flour mixture and, using a pastry cutter, two knives, or your fingertips, quickly cut or rub the butter into the flour until the mixture resembles coarse crumbs with some pea-sized bits of butter remaining. Work briskly so the butter stays cold and the mixture reads as rough, sandy clusters with visible flecks of butter.
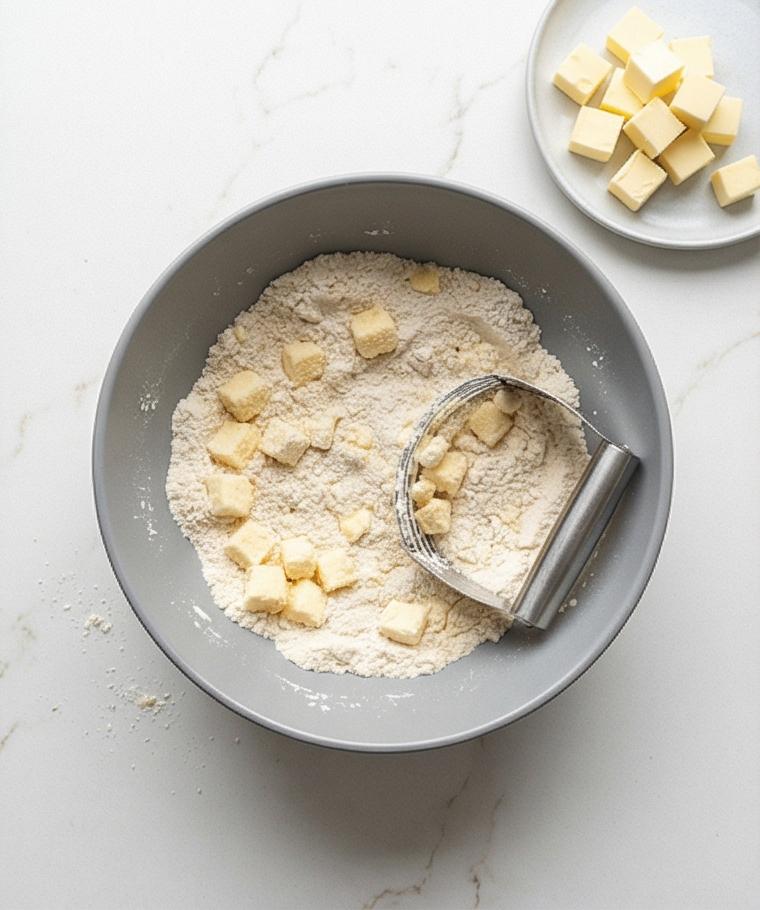
Step 3: Add ice water and bring the dough together
Sprinkle 3 tablespoons of ice-cold water over the flour-butter crumb and gently toss with a fork until the dough begins to clump. If needed, add up to 1 additional tablespoon ice water, 1 teaspoon at a time, only until the dough holds when pressed between your fingers. The result should be slightly shaggy but cohesive — small clumps and visible bits of butter remain.
Step 4: Shape the dough into a disk and chill it
Turn the mixture onto a lightly floured surface and press it together gently into a roughly 1-inch-thick disk. Wrap securely in plastic wrap and chill for at least 1 hour (or up to 2 days). The chilled disk should look smooth on the outside with a dense, cold interior that will roll without cracking.
Step 5: Prepare the oven and pie dish
When the dough is fully chilled, position an oven rack in the lower third and preheat to 400°F (205°C). Butter or spray a 9-inch deep-dish pie plate and set it aside so it’s ready when you roll the dough. Keep the work surface lightly floured and the chilled dough cold until rolling.
Step 6: Roll the chilled dough out to size
On a lightly floured surface, roll the chilled disk into a roughly 12-inch circle about 1/8 inch thick, rotating and lightly flouring as needed to prevent sticking. Use a gentle, even pressure so the dough stays cool and elastic without tearing or stretching.
Step 7: Line, trim, and crimp the pie shell
Wrap the dough around the rolling pin and transfer it to the prepared pie dish, easing it into the bottom and sides without stretching. Trim the overhang to about 1 inch beyond the rim, fold it under to create a thicker edge, and crimp or decorate as desired. The shell should sit neatly in the dish with a tidy, even rim.
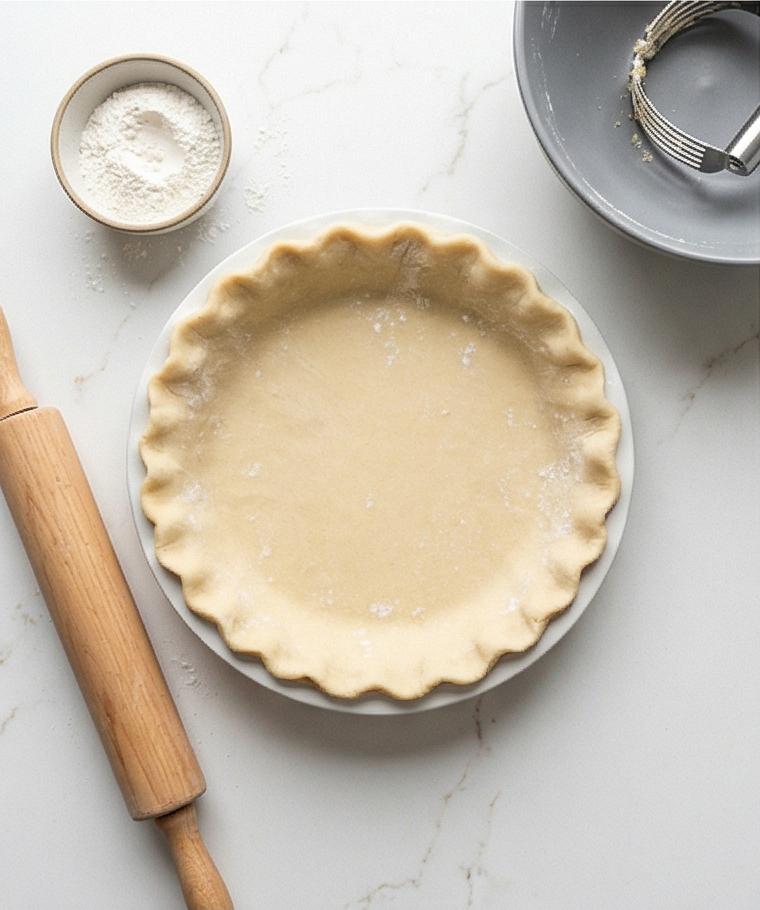
Step 8: Chill the lined pie shell before blind-baking
Return the dough-lined pie dish to the refrigerator for 20–30 minutes (or the freezer for 15) until firm; a well-chilled shell prevents shrinkage and helps hold shape during blind-baking. The chilled shell will feel compact and cold to the touch.
Step 9: Line with parchment and weights for blind-baking
Cut a piece of parchment large enough to cover and hang over the edges of the crust, line the chilled shell, and fill evenly with pie weights, dried beans, or uncooked rice. This staged restraint keeps the bottom even and the edge crisp during the first bake.
Step 10: Blind-bake the crust until the edges set
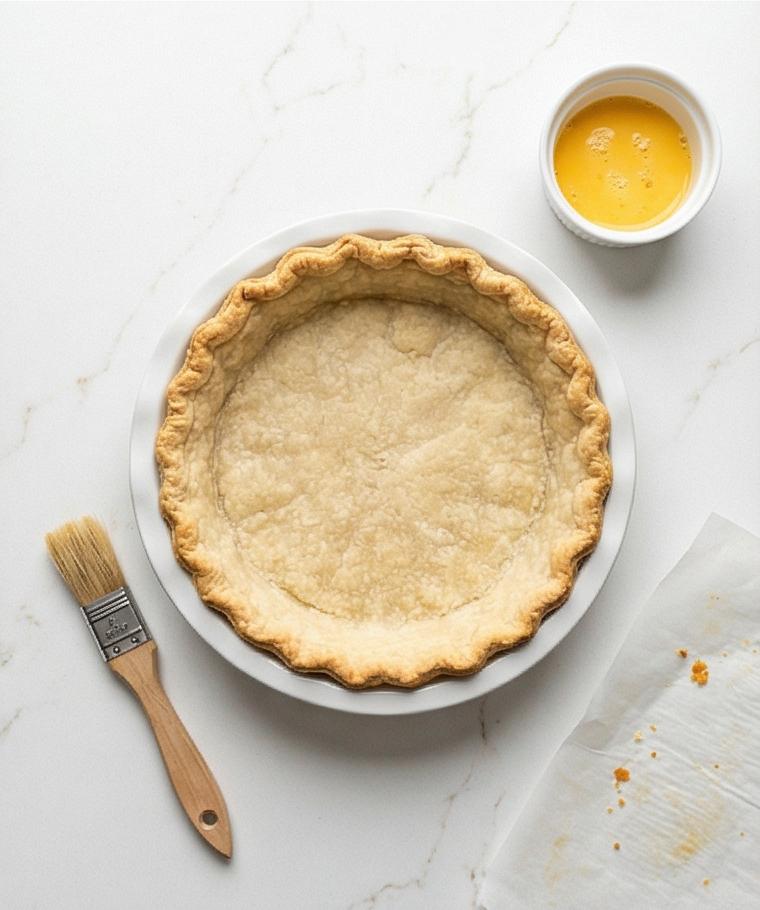
Bake at 400°F (205°C) for about 15 minutes, until the edges are just beginning to set. Carefully lift out the parchment and weights, then if using an egg wash, lightly brush the bottom and sides with a beaten egg to create a moisture barrier. Return the crust to the oven and bake another 8–10 minutes until the bottom looks dry and just faintly golden. Remove and reduce the oven temperature to 375°F (190°C).
Step 11: Mix the pumpkin and sugars until smooth
While the crust bakes, combine the pumpkin purée with the eggs, packed light brown sugar, and granulated sugar in a large mixing bowl. Whisk vigorously until the mixture is silky and uniform in color, with no streaks of sugar or egg — a cohesive, velvety orange base.
Step 12: Add the dairy and spices to build the custard
To the pumpkin base add the heavy cream, whole milk, cinnamon, ginger, nutmeg, cloves, allspice, fine sea salt, and vanilla. Whisk until perfectly smooth and slightly thickened, the spices suspended evenly so the custard reads as a single, warm-hued, fragrant mass.
Step 13: Pour the filling into the warm pre-baked crust
Place the pre-baked pie shell on a baking sheet and pour the pumpkin custard into the warm crust, leaving about 1/8 inch of space at the rim. Gently tap the sheet to coax out any large air bubbles; the filled shell should look glossy, level, and almost to the top.
Step 14: Bake at higher heat to set the edges
Bake the filled pie at 375°F (190°C) for 15 minutes to jump-start the setting of the outer ring while the center remains fluid. This creates a stable perimeter and helps the filling finish evenly.
Step 15: Finish baking low and slow until the center just wobbles
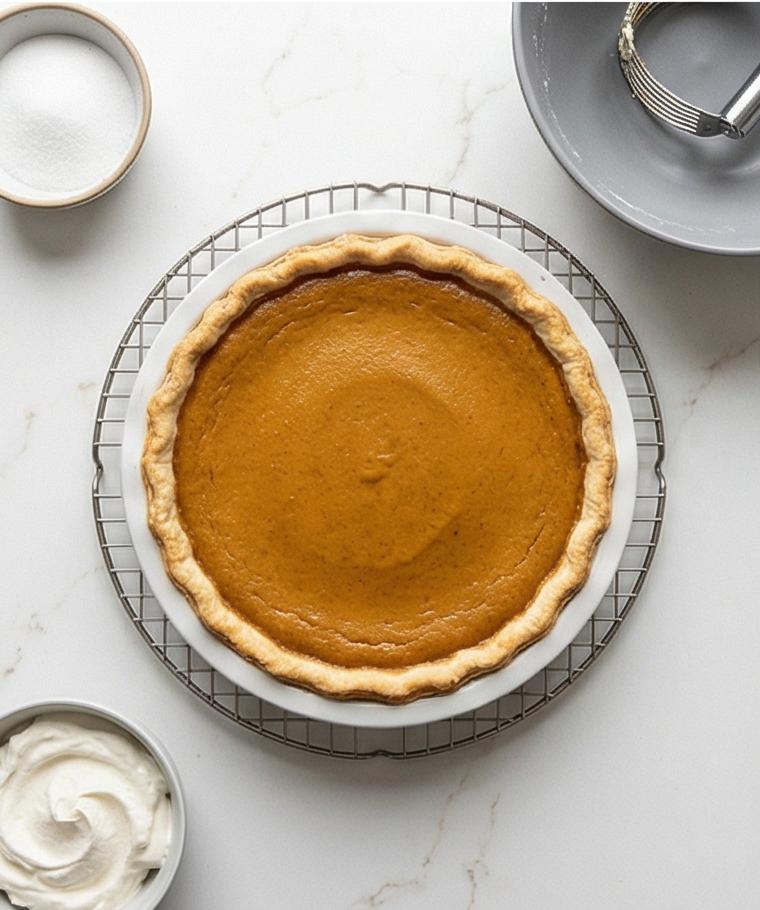
Without opening the oven, lower the temperature to 325°F (165°C) and continue baking for another 30–40 minutes, until the edges are puffed and set while the center still wobbles slightly like gelatin. A thin knife inserted near the center should come out mostly clean.
Step 16: Cool the pie completely at room temperature
Remove the pie and set it on a wire rack to cool completely at room temperature for at least 3 hours; the filling will continue to set as it cools. Leave it uncovered so the surface dries to a clean finish.
Step 17: Chill for the best slicing texture (optional)
Once at room temperature, loosely cover and refrigerate the pie for at least 2 hours if you prefer cleaner, firmer slices. A chilled pie slices with neater edges and a denser mouthfeel.
Step 18: Whip the cream for serving (optional)
Just before serving, whip cold heavy cream with granulated sugar and vanilla to soft–medium peaks so the cream is billowy, smooth, and holds shape without becoming grainy. Transfer to a piping bag or bowl for easy plating.
Step 19: Slice and plate with a dollop of whipped cream
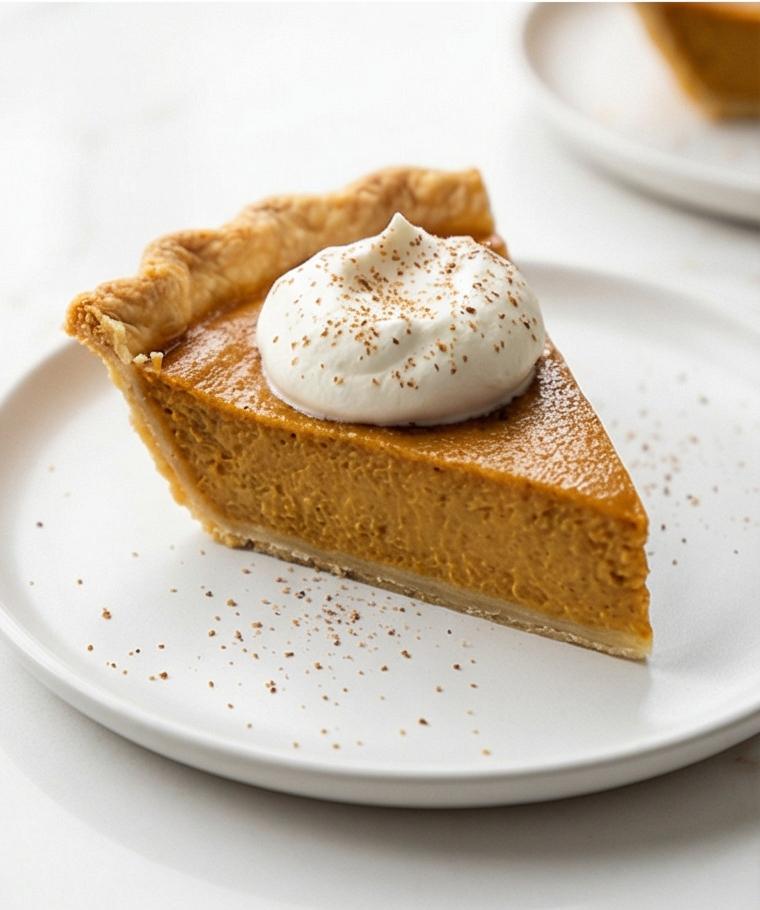
Using a thin, sharp knife wiped between cuts, slice the pie into clean segments. Plate each slice with a generous dollop of whipped cream and, if desired, a light dusting of freshly grated nutmeg or cinnamon for aroma and contrast.
Step 20: Store leftovers and reheat gently if desired
Cover and refrigerate leftover pie for up to 3 days. To serve a slightly warm slice, reheat individual portions briefly in a low oven and add fresh whipped cream just before serving.
Notes
- Keep all fats and liquids cold for a flakier crust.
- Chill the dough for at least 1 hour to prevent shrinking during baking.
- Blind-bake the shell and use an egg wash to seal for a dryer bottom.
- Watch the pie near the end of baking; aim for a slightly wobbly center.
- Store covered in the fridge up to 3 days; freeze slices for longer storage.